Car Scratch Remover — True Scratch Repair That Lasts
Car Scratch Remover — True Scratch Repair That Lasts
Verfügbarkeit für Abholungen konnte nicht geladen werden

Car Scratch Remover — True Scratch Repair That Lasts
CAR SCRATCH REMOVER
Give Everyday Marks a Little Attention.
Small surface marks can distract from the finish you love. Bring a focused touch to your car-care routine with a scratch-removal product intended for minor cosmetic marks on compatible paintwork.
Targeted car care Hand-applied routine

A More Focused Finishing Routine
01 / Treat the Area
Focus on an individual surface mark rather than treating the entire vehicle at once.
02 / Apply by Hand
The illustrated process uses a sponge or applicator for a hands-on approach to cosmetic paint care.
03 / Check as You Go
Work on a small test area first and inspect the finish before treating a larger section.
04 / Make It Part of Car Care
After a wash, take a moment to assess minor marks and decide which need cosmetic attention and which need professional repair.
Know the Mark Before You Start
Not every scratch is the same. A light surface blemish and a deep gouge need different approaches. This product is not a replacement for missing paint, bodywork or rust repair. If a mark reaches the primer or metal, have it assessed by a qualified repairer.

Promotional examples are shown for reference, not as a guarantee. Results depend on scratch depth, paint condition, finish compatibility and application technique. Deep damage or missing paint may require professional repair.
A Small Detail, a More Considered Routine
You've washed the car, dried the panels and spotted a mark near the door handle. Instead of rushing into a full repair, start by checking the surface and the product instructions. A careful test lets you decide whether a cosmetic treatment is the right next step.

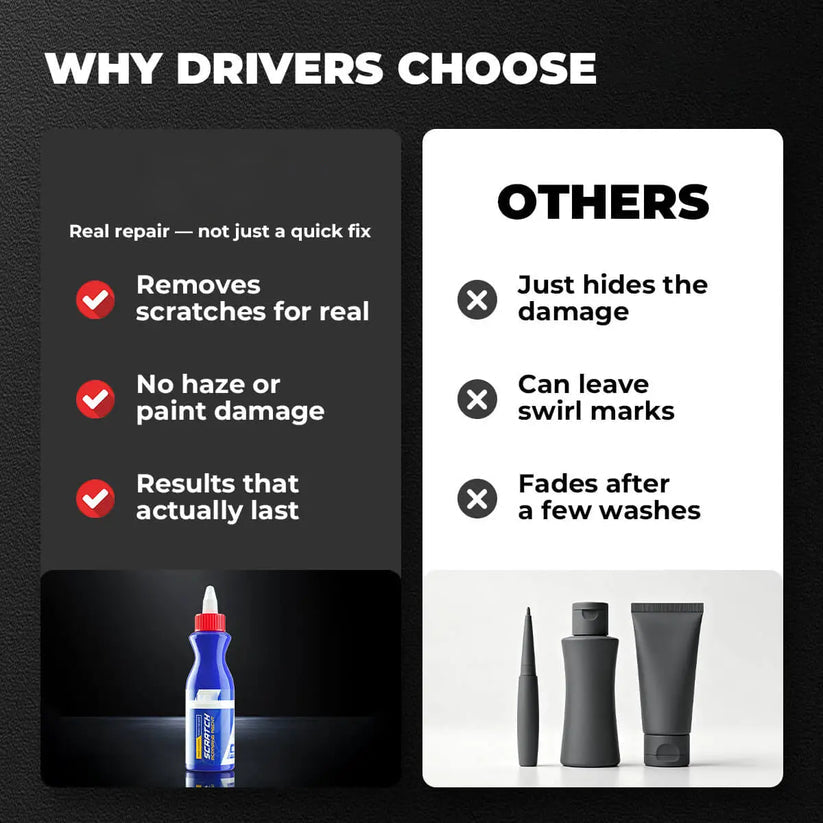
Claims within the supplied comparison graphic are promotional. Universal paint compatibility, permanent removal and superiority over other products have not been independently verified.
Clean. Test. Apply. Inspect.
Clean & dry: Remove loose dirt and dry the area before starting.
Check & test: Read the label for finish compatibility, then test on a small, inconspicuous area.
Apply as directed: Use the amount, applicator, pressure and working time specified by the manufacturer. Do not keep rubbing simply because a scratch remains visible.
Wipe & inspect: Remove residue as directed and check the result. Stop if you notice haze, discoloration or a change in the finish.

Before You Use It
Follow the product label rather than relying on promotional graphics alone. Do not assume suitability for matte paint, wraps, protective films or specialty coatings. Confirm compatibility before use. Follow all handling and storage precautions on the packaging.
Will it fix deep scratches or exposed metal?
Do not rely on a cosmetic scratch treatment to replace paint or repair exposed metal. Deep scratches, peeling paint and rust need an appropriate repair assessment.
Can I use it on any paint color?
Color alone does not establish compatibility. Check the manufacturer's guidance for your paint and finish, and always test a small hidden area first.
CARE FOR THE DETAILS
Give Your Finish a Closer Look.
A thoughtful approach to the little marks that catch your eye.